
After finishing the design diploma, I used to watch a lot of tutorials to learn from them and practice, but at some point I wanted to work on a project that’s mine not to copy from tutorials, to see what it will be like to work on something on your own.
So what I did was creating my own home made/ mocked project, don’t take much time thinking what this project is going to be you can do anything you like, if you have passion for something you can brand it, you can make a personal brand for yourself, you can rebrand anything you like, or you can ask your friends for some ideas.
In my case I asked my husband (programmer) to give me ideas for a project, so he told me he can make an app that organizes our books and library and I can brand it, as a book worm myself I got very exited about the idea and started working on it.
So now I’m going to tell you the story of this project step by step:
1- The Brief
The first step is taking the brief from the client in my case was thinking about it myself and with my husband to know what this app is going to offer and think about the project itself, you can also talk to your friends especially if they work in the same field to help you with some insights.

2- Research
After the brief comes the research, I think you should never skip this step as it helps very much with the logo design, the colors you are going to choose and it also gives you an idea about other projects/apps that offers the same service as you do, so you learn how to be different from your competitors.

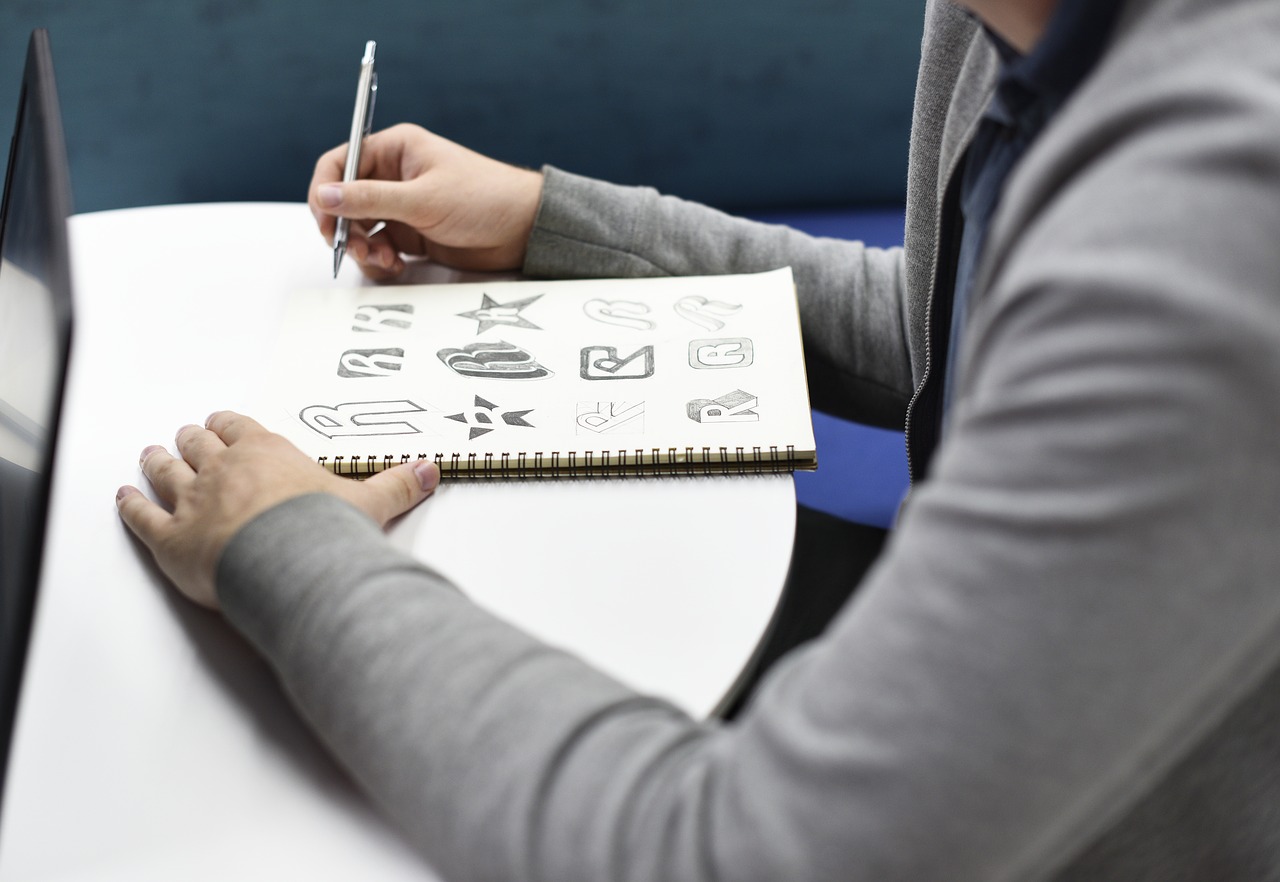
3- Sketching
In this stage you think about the name of the app first, then you start sketching for the logo, after the research by now you would have seen plenty of logos, so you will have some ideas and inspirations, and you also can make something new and creative not just repeating the same ideas over and over again.
4- Illustrate it
Some of us skip the sketching and try to do the logo first but it’s not recommended, as sketching gives you ideas that you can filtrate and take the good ones only to see what will come out of them.

5- Edits
I think this is the scary part but after finishing the draft of the logo show it to the client/friends/whoever and ask them what they think about it and if there is any thing needs edits in your logo and then you’re good to go.
And that’s how I did my first home made project to practice my skills and improve it.
P.S: I will share the project itself in a different article.